
I love the little goofy monster stuffed animals that are popular and decided to give one to Jack this year for his birthday. I had a lot of fun making it and its a good craft that anyone can individualize.
What You Need
1 yard of Flannel fabric
1/4 yard of a different color flannel (for eyes or whatever you want to add)
Polyester Fiber Fill
basic sewing tools
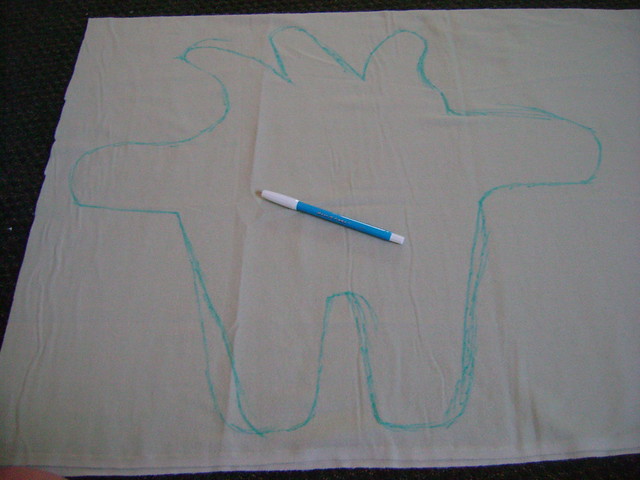
Fold your material in half. Draw your monster body shape onto one side of the flannel. You can make it whatever size or shape you want- have fun with it! Pin down the body and cut out both pieces of fabric so that you have two identical shapes.
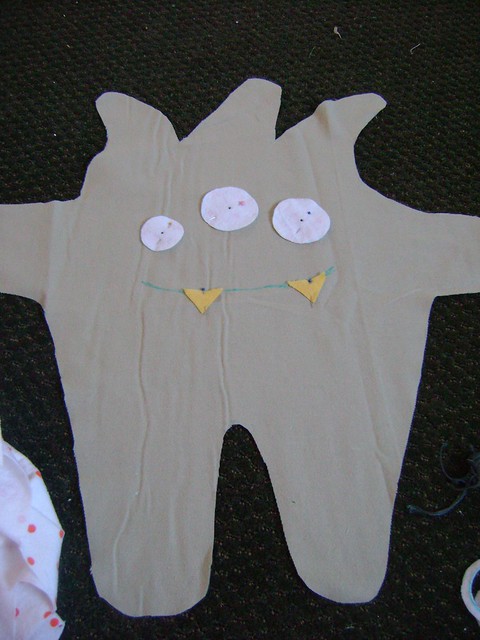
Cut out what ever eyes, teeth, or bellies, you want to put on your monster. Place them where you want them and pin them down. I drew my mouth on so I placed the teeth in the right place. Appliqué them down- I used a zig-zag stitch around the perimeter.
After I appliquéd my eyes and teeth I sewed on the mouth using a Satin stitch. A Satin Stitch is pretty much a wide zig-zag stitch that is so close together it creates a solid line.
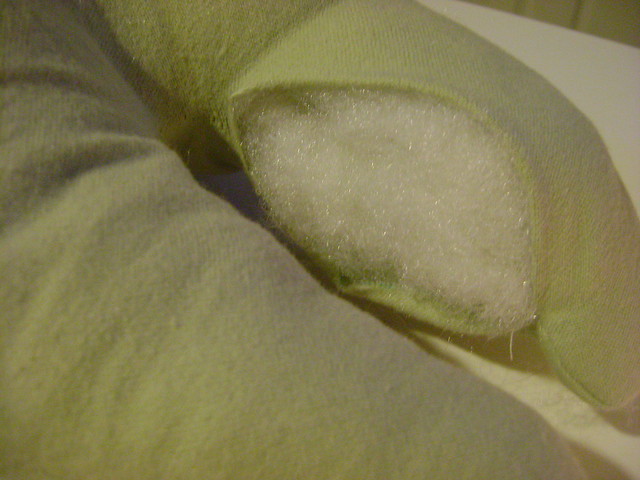
When you are done appliquéing your face and any other items on your monster, place right sides of both body shapes of fabric together. Pin the outside and sew along the outside. Do not sew the entire outside, leave about a 5 inch gap between your start point and end point. Use this whole to turn the animal inside out so the face is on the outside. Stuff with polyester fiber fill. Sew the opening closed- you are supposed to hand stitch it but I'm always impatient and sew it with the machine.
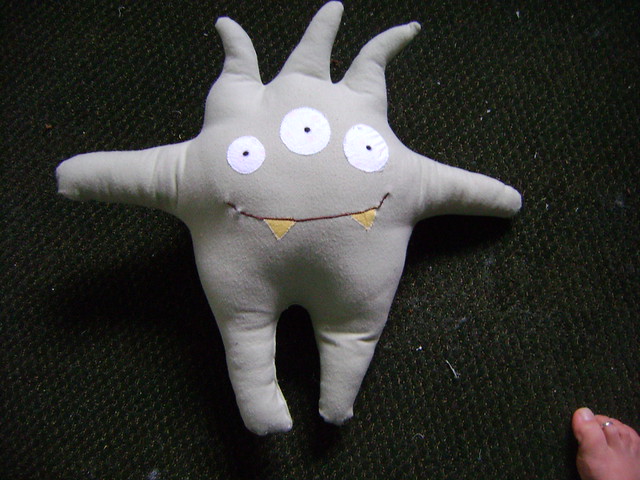
Meet my Monster....
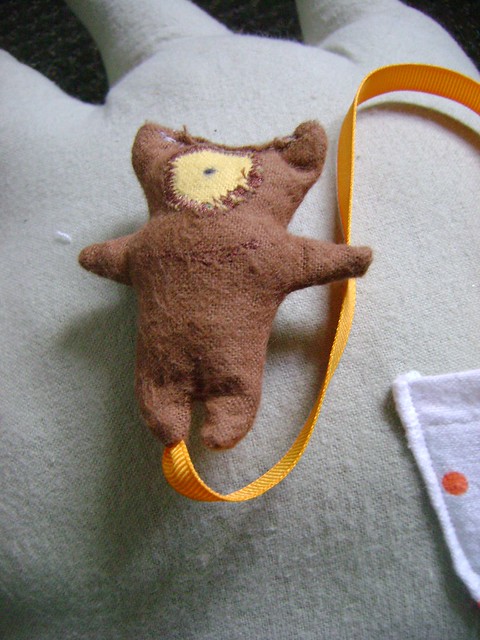
I also added a pocket and a mini monster to go inside it on the back.
My mini monster turned out kind of ghetto. It was tough sewing a guy that small AND I did it late at night and didn't realize I sewed him with white thread instead of brown. oh well.
Jack seemed to like it a lot and thats good enough for me!





1 comments:
Cute! I'm sure Jack loved it and I don't think the little monster looks ghetto. He is a monster, after all. ;)
Post a Comment